I've always wanted to become a part of the Fairy kei community and I've been addicted to making my own things since forever!

So what better way to do so than making my own kawaii bag? This took me about 2 days to make (obviously with breaks in between), It was pretty easy but I had to make sure I didn't sew parts the wrong way round or something - I do that a lot :| . Luckily though having the breaks in between made the making flow easily (no going back and having to undo some stitches and resew parts because they were inside out =) ).
Anyway I'm pretty happy with the finished product, It looks neat and lots of people liked it. Of course I had to practice sooo much to be able to make it to such a good quality. The bag is reasonably strong and holds a lot of stuff, If I could change something about it I would make the shoulder straps wider by sewing the braided denim to a strip of wider denim.
 The front of the bag. |

A close up of the front.

The front pocket.

One of the side pocket zips.
 Inside the back of the back I sewed in a plastic sheet for strength, I got this from an old backpack so I'm not sure what to call it. |
 Close up of the back showing the handle. |
The fabrics and components I used were:
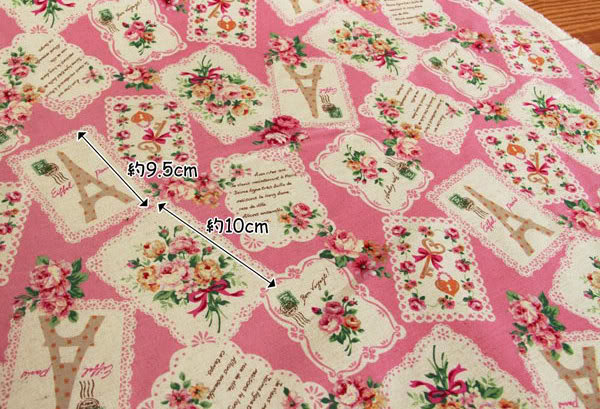
I love Paris Fabric by Trefle for Kokka Cotton/Linen which I purchased from ebay for £3 per fat quarter, I think I only bought one or two fat quarters of it I can't really remember but I just about had enough.
And the other main fabric I used was recycled from a pair of light jeans, this denim was very light but strong and holds together nicely.
The lining was made of a light white cotton fabric that I had lying around, I got this from one of the many fabric stores in Green street, London. It's a very good place to shop for simple cheap fabrics and haberdashery so if you travel to London or live in London check it out.
The shoulder straps were made from braided denim, this denim also came from recycled trousers and I had to sew a few strips together so that it was long enough. The handle on the top was made from two strips of embroidered ribbon that I sewed together.
The buckles were also recycled, they came from old bag straps. I couldn't wait to make the bag so I didn't bother buying the buckles, I did however buy the zips from Green street. One is purple and one is blue, I thought it would be an interesting touch.
How do I make one you ask? Well, I'm not telling. Just kidding! I actually drafted the pattern for this bag from Bag'n-telle here's a link: http://bagntell.wordpress.com/2011/09/07/old-school-backpack/ The bag that they ended up with looks like this.


I totally modified this design, as you can see. The drawstring I used is hidden between the lining and the outer fabric and it comes out from a rather messy button hole that I sewed on my machine (I get really frustrated when the button holes don't sew properly : / ). I decided not to use eyelets in mine because my eyelet punch it really rubbish.
So the link will take you to a detailed set of instructions on drafting and assembling the bag, they're really easy to follow and include diagrams and pictures which help you out if you get confused.
I hope this was helpful and good luck with crafting your own backpack! Tell me how it went and how you personalized your bag, and be sure to check out my other posts. And visit my pinterest, It's crammed with amazing kawaii, Fairy kei, gothic, lolita, DIYs and more.


No comments:
Post a Comment